Sunday, September 30, 2012

Homemade Pumpkin Seeds Snack

If you made pumpkin puree' from my last post, you should have a bowl of pumpkin seeds left. If you are carving a jack-o-lantern, you can save the seeds that you scoop out of the pumpkin and make a yummy treat. If you are in this area, you can get pumpkins like mine at Wieck's (Wieck's Corn Maze & Pumpkin Patch)
1. So, the first thing to do is to cut open your pumpkin. If you are going to bake your pumpkin, just cut it in half. If you are going to make a jack-o-lantern, you will probably only cut the top off to make a lid on your pumpkin.
2. Scoop the seeds out of the pumpkin and into a bowl. Try not to include the other slimy pumpkin strings and gooey center with your seeds. That part goes in the trash. It's OK if a little of the pumpkin goo is stuck on the seeds to start with as you can clean it off when washing.
3. Next, wash your bowl of seeds. I put some water in my bowl of seeds and swished it round with my hand. I pulled out any large pieces of pumpkin that were still mixed in the seeds. Do Not soak the seeds, just rinse. They will puff up and start to come apart if you let them soak. I poured the seeds and water into a strainer to get rid of the water. Then I swirled the seeds around looking for any orange pumpkin bits still stuck on the seeds. If you find any, take it out. This is the time to get the seeds clean. If you need to, you can wash and strain the seeds a few times to get them clean. The seeds in the picture below are not clean enough; there is still orange pumpkin on these seeds. They need to be washed some more.
4. Next dump the seeds out on a cookie sheet with sides. Sort through the seeds a little bit. Some of the seeds may be hollow, not have any seed inside the shell. Take those seeds out. Here is a picture of an empty seed and a good seed. You can almost see through the empty seed when it's wet. It will be flat. The good seed will be slightly puffed.

5. Sprinkle the seeds with salt at this point if you would like salted seeds. You don't have to salt them, but it adds flavor to the outside.

6. Place in middle of a warm oven, about 250 degrees for an hour. The seeds may stick together as they dry. After the first 30 minutes, stir with a wooden spoon or a spatula, separating any seeds that may have stuck together. After an hour, remove from oven and cool on the pan to room temperature. Now you can eat and enjoy! Store left overs in a sealed container or bag.
You can eat the seeds whole with the salted shell or crack them out of the shell and eat them. If they are out of the shell, the seed inside won't have the salt flavor you put on the outside of the shell. Here is what the pumpkin seed looks like in the shell, while removing the shell, and out of the shell.


How to Make Fresh Pumpkin Puree'

Want to see how to make pumpkin puree out of pumkins so you can make homemade goodies like pie? Just look below to find out how.

1. Get pumpkin pie pumpkins. I picked mine in the field yesterday at Wieck's corn maze and Pumpkin patch (Wieck's Corn Maze & Pumpkin Patch). They are small, about 3-5 ponds each. I used three pumpkins in this tutorial and ended up with 8 cups of puree. You also need a cutting board, a butcher knife, a spoon for scraping the inside of the pumpkin out, and a bowl (2 bowls if you want to keep the seeds).
2. Lay the pumpkin on it's side on a cutting board. Cut the pumpkin in half, making sure your hands/fingers are out of the way.
I cut mine in half to the stem, then twisted the halves apart. The stem was attached on one half. I just pulled it off after cutting the pumpkin in half.
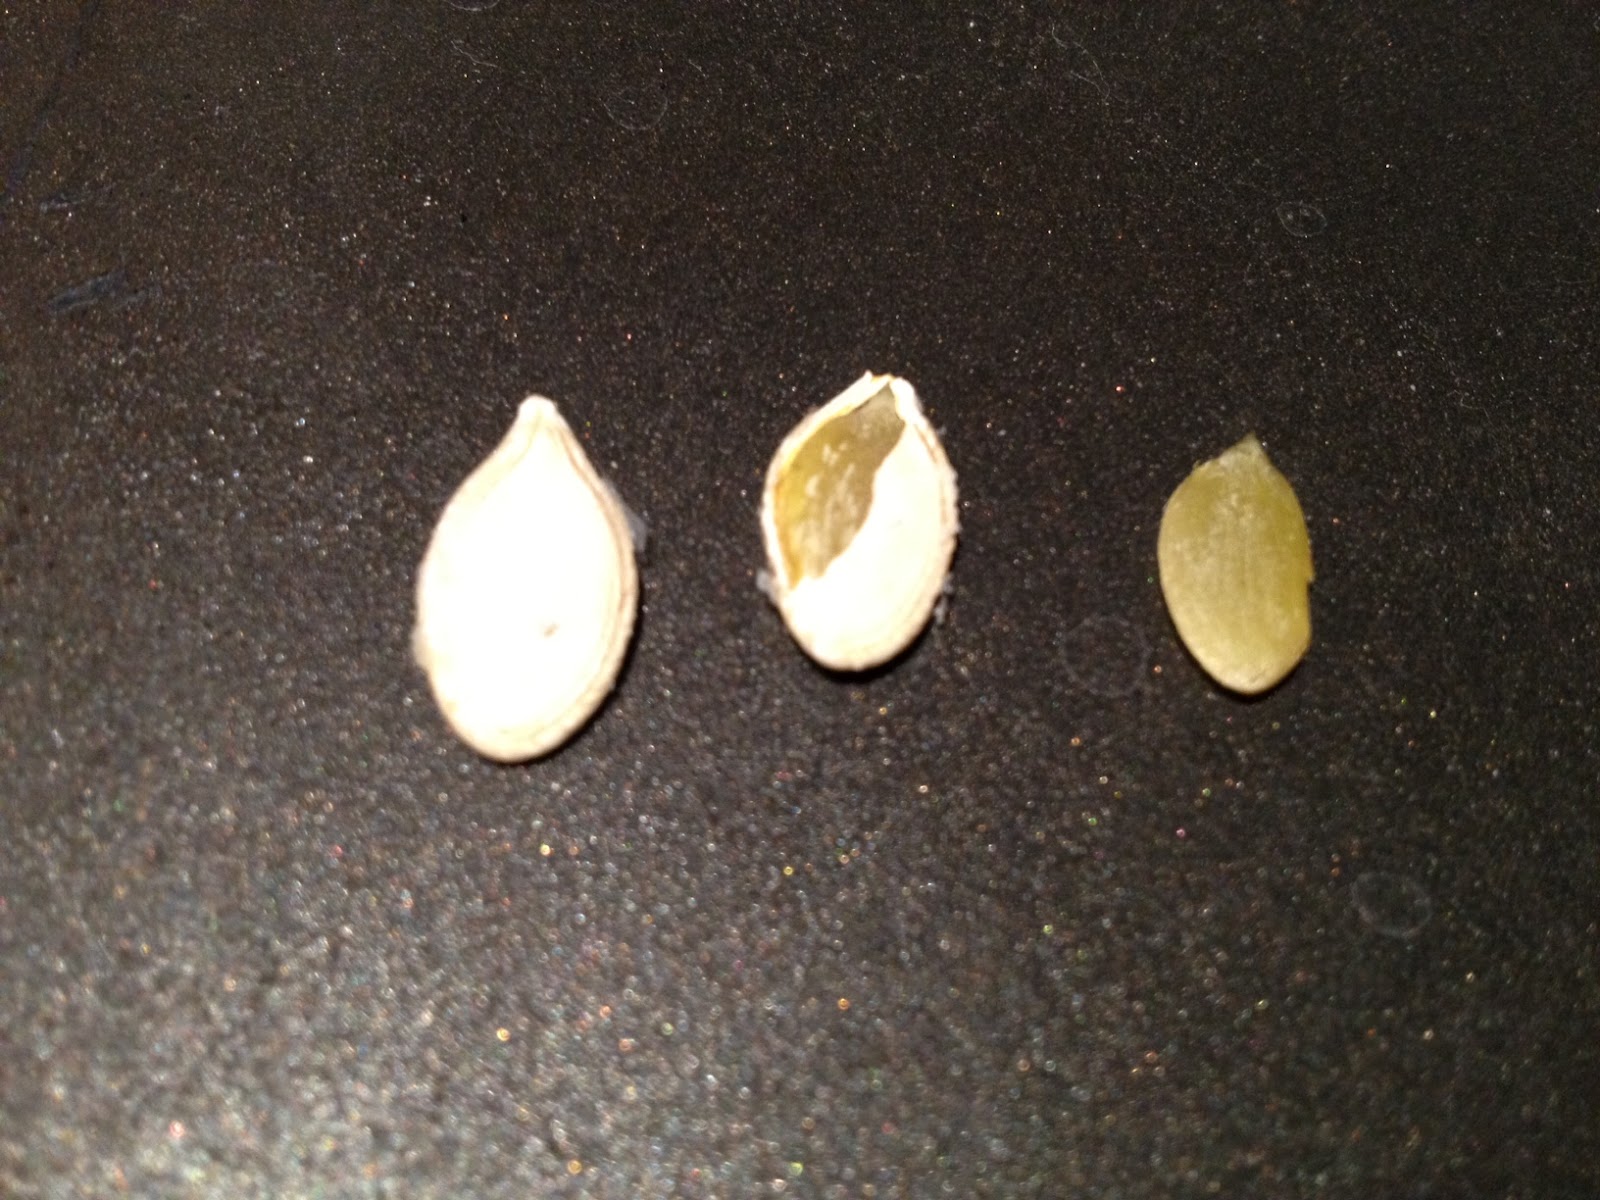
3. Take a spoon and scoop out the seeds and inner core. If you want to make homemade pumpkin seeds for snacking on later, place the seeds into a seperate bowl to save for later.
Make sure to scoop out all the seeds and the slippery, stringy insides so you only have a shell left. If you have what is called a "grapefruit spoon" with a serated tip, you can use that to help you scrape the inside of the pumpkin clean. The photo below shows a grapefruit spoon and a cleaned out pumpkin half.

 4. Take a rimmed cookie sheet (with sides) and line it with aluminum foil. I like to use the non-stick kind, but you can use regular. I also like to use the size foil that is big enough to cover the entire pan so no juices leak through. Place the pumpkin halves open side down on the foil lined pan.

5. Bake in an oven set at 350 degrees for about an hour. Check it for doneness by poking it with a fork. If it is tender inside, it is done. If it is still kind of hard to get the fork through the meaty part of the pumpkin, leave it to cook a while longer, up to 90 minutes. You don't want the outer skin to burn, though, that is cooked too much. Sometimes the skin will wrinkle up like in the photo below. That is OK. It means the pumpkin is cooking and softening up.
 
6. Take the pumpkins out of the oven and cool to room temperature on a cooling rack.
7. After the pumpkins have cooled, use a spoon to scoop out the meaty part away from the outer skin. Put all the cooked pumpkin into a bowl. Throw away the outer skin.
8. Now you want to mash up, actually puree', the pumpkin. You can use any of the following: blender, food processor, potato ricer, hand blender, or any other tool that can mash the pumpkin up so it looks kind of like thick pudding.

9. Now you can use your pumpkin puree' in your favorite recipe, like pumkin pie! Or you can package it up, like you see here and freeze it up to one year.


Friday, September 21, 2012

Halloween Fun

Today I want to share a special place with you to take your family for the Fall/Halloween season. The place is Wieck's Corn Maze and Pumpkin Patch. This is a place for natural, outdoor, family fun time.

The Wieck's grow and create a 20 acre corn maze shaped like the local region of Texas and surrounding areas. You can wander around as you like in a real corn field with corn on the stalks. Paths are cut all through the field just like highways on a map. It's cool!

They also grow their own pumpkin patch for you to come pick your own pumpkins. If you don't want to pick your own, find one that they have already picked and brought to the pumpkin wagons. I personally saw how they clear a path literally by hand through the pumpkin patch, picking pumpkins out of the way one by one. Get some to decorate, make into Jack-O-Lanterns, or to make pumpkin pie (I did and they are yummy).They said there are 95 varieties grown this year. Just look at some of the different pumpkins!

Here I am harvesting a pumpkin!

There are things for kids to climb on, small farm animals to see, cut-outs to take your picture at, a place to sit and relax, and more. You should see the corn slide. Slip down the slide and land in bushels of dry farm grown corn. Come check it out.

Individuals, families, and large groups are welcome. Bring your school group, church group, business group, tour buses. They like groups to call ahead so they can prepare for your group. There is plenty to see and do. Experience the Fall season in the great outdoors at Wieck's. Located north of Etter, Texas. Call to check times, directions, and weather conditions. It is outdoors, so dress for the weather that day and have fun!


Tuesday, September 18, 2012

Animal Print Magnets


Today's craft is a slightly different take on the popular glass marble magnets. Instead of using someone's picture or words from a book, I used "junk mail" (unsolicited advertisements received in the mail) to make a stylish set of magnets.

Supplies: clear drying glue that adheres to glass, such as Mod Podge , K6000. A small paint brush that you don't mind getting glue on it. Or you could use a toothpick or Popsicle stick instead of a paint brush to apply the glue. Scissors or a 1-inch diameter hole punch. Clear glass, one flat side marbles available at dollar and craft stores usually in the floral department. Round magnets same size or smaller than the marble. Magazine or sales flyer with pictures of animal prints you like.

Before starting, cover your work area with paper to protect it from glue.
1. Cut or punch out a circle of your favorite animal print from a magazine. I used a free advertisement that came in the mail. This should be a one inch circle.

2. Use a paint brush or toothpick to spread glue all over on the flat side of a clear floral marble.

3. With the animal print circle face up, hold the marble with the flat side down and press onto the animal print circle. Kind of smoosh the marble down on the paper circle to get any air bubbles out. Let it dry according to the glue product's directions for drying time.

4. After the animal print is dried onto the glass marble you can attach the magnet. Put some glue on one side of the magnet (or use self stick magnets) and stick it to the back side of the animal print marble. Let dry.
That's it. Your animal print magnet is done. Make a set to match your appliances, give a set as a gift, or mix and match. So easy, low cost, and fun.
 

Sunday, September 16, 2012

In The Beginning

This is my first day to post, so bear with me. I'd like to share different crafts and ideas with you. Some may be new, some my attempt at and results of a craft idea I found elsewhere, or an emample of how to do something, some new ideas, and some old. It will be a hodge podge of crafting.

I grew up crafting. I know about different arts and crafts, but I don't know everything--no one does. There are new things being created every day. We learn these new ideas from each other. Hopefully you will have a chance to learn something new from this blog or even be inspired to create something new from what you read or see here. In any case, remember to have fun!

The first thing I'd like to share with you is decorating Fall and Halloween pumpkins. I'm talking about the artificial, styrofoam type, although some of these techniques could be used on real pumpkins as well. You just would not be able to keep the real ones year after year. I had not used the styrofoam pumpkins before because I thought they were a little pricey to "try" a decorating style that might not turn out the way I planned. That changed this year when I found some small inexpensive "fake" pumpkins. I was able to try some designs on a small pumpkin to see how it turned out. If I liked it, I could invest in a larger pricier pumpkin and not feel like I might mess it up. I bought over a dozen small pumpkins to decorate. With that many, I was glad they were small. Here are some of them.
I used acrylic craft paint and glitter paint for the majority of these. I also found some puffed foam leaves to use on some of these. I was inspired by other pictures of decorated pumkins I found on Pintrest, in magazines and around the web. In one of those pictures the pupkins were displayed on 3 candle holders of various heights. I didn't want to go out and buy new candle holders, but...someone on Craigslist had the 3 lightly used ones pictured here, for sale. So, I got them as they were perfect. I'm still decorating the rest of the pumpkins I got. So, check back to see if they turned out OK.